
minnie & mickey ornaments
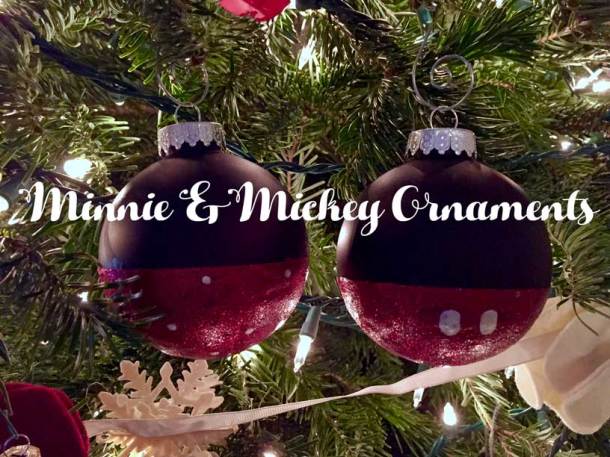
Did I mention I like Disneyland? I found these adorably minimalist ornaments at the parks, but couldn’t justify the price tag.

They looked simple enough, so I put my DIY-ness to the test and gave them a whirl!
Supplies Needed:
- Red glitter craft paint (I used Martha Stewart’s glitter paint in Garnet)
- White craft paint (I used MS’s Mother of Pearl, leftovers from the Cinderella pumpkin)
- 2 ball ornaments in black (I found mine at Michael’s in a chalkboard finish. Bonus–they’re plastic so there’s no potential accidents!)
- Painter’s tape


How To:
1: Tape horizontally all the way around each ornament (matching nail polish optional)

2. Begin painting the bottom half of each ornament with the red glitter paint. This particular paint took several (3) coats. You can let it dry upside down inside a shot glass 🙂

3. Once the paint is completely dry (at least overnight), carefully peel off the painter’s tape.
4. For the Mickey ornament, paint two small ovals using the white craft paint just below where the painter’s tape was.
5. For the Minnie ornament, paint a row of white dots all the way around the ornament, just below where the painter’s tape was. Paint a row below that, diagonally offset from the row above. Continue alternating each row until you reach the bottom of the ornament.

6. Hang on your tree, turn on some Christmas music and bake cookies. ::insert Christmas tree emoji::


